How to Start a Blog Today
Learning how to start a blog was one of the best decisions I’ve ever made. In less than a year, I was able to quit my full time job and make a full time living from starting a blog.
Within a few months of starting my blog, I made my first $60 as a new blogger.
This might not sound like a lot of money, but it gave me the confidence to keep moving forward and verified that a blog can make money.
At the end of my first year as a new blogger, I made just under $13,000. This was all in my spare time because I had a full time day job.
Because I like to keep track of how my blog performs, I’ve tracked every single income and expense.
Below, I have a free 7-day blogging email course on how to start a blog. Each day I share new tips to start and grow your blog!
After I quit my day job, I made around $90,000 my first year as a full time blogger. This is more than I ever made at my day job!
Sharing my blog income reports
I’ve shared over 30+ monthly blog income reports in my first few years of blogging.
I recorded all of my income and my expenses, so I could share with other new bloggers what it was like starting my blog as a beginner.
Here are a few income reports from my first several months of blogging:
- My 1st Income Report: I made $61.83!
- How my blog made made $2007.31 in my spare time
- How I made $4,238.99 – my highest income in year 1!
If I can learn how to start a blog and make it successful, you can too!
Because I was on a tight budget (and still am budget conscious today), I used this company to start my blog.
It’s really important when you start a blog you don’t use a free site. It can be really hard to monetize with a free site and you don’t technically own your website.
The best thing to do is purchase a domain name and pay for a low-cost hosting plan.
This enables you to use ads on your website, send more traffic to your website and have other ways to make money blogging.
This company also gave me a free domain name. A domain name is the name you choose for your website.
This helped me save an extra $15 and now I own my website name!
50+ blogging ideas to start a blog today
Are you looking for some ideas on what to blog about? I always find that it’s best to blog about topics you are interested in.
It’s ok to blog about more than one topic. On this website, I share tips on how to start a blog, side hustles I have done in my spare time, how to save money and more!
Here are some new blogging ideas to help you get started:
- Recipes
- Printables
- Sharing budgeting tips
- Mama / family life
- #Adulting
- Paleo / Keto / Low sugar eating
- Vegan
- Saving money
- Making money
- Building a home
- Remodeling
- Starting a business
- Your profession / career
- Crafts / DIY / How-to steps
- Book clubs and reviews
- Healthy living and/or weight loss
- Lifestyle
- Tutorials
- Homeschool
- Fashion
- Personal Finance
- Makeup and hair
- Photography
- Art
- Journaling
- Teacher / education
- Faith / religion / inspiration
- Reviews/ direct sales – LuLaRoe, Scentsy, Essential Oils, R+F, Mary Kay
- Vintage finds / picking
- Product Sample Reviews
- Pets – accessories, bakery, etc.
- Shopping hauls
- Wedding / wedding planning / event planning
- Shopping
- Service based, such as accounting, bookkeeping, real estate
- Brick and mortar shops
- Self care
- Garden / homestead
- Coupons / save money on groceries
- Car / woodworking / building / ‘shop’ hobbies
- Student / college / Greek life
- Home decor
- Everyday lifestyle
- Mental well being / self help / depression / chronic illness
- Travel / vacation
- RV
- Disney
- Camping / hiking
You can also start a blog so you can share your experiences, your stories and your thoughts.
This blog was originally a way for me to record all of the different ways I tried to side hustle and make money.
Today I still do this but also interview other people that make money and have tips on how to pay off debt!
Don’t think that you have to be a professional writer or expert either. Some of the best blogs write from the heart and are not perfect!
Beginner blogging tips
When I first learned how to start a blog, I had a full time job. I was busy with a 9-5 job, not to mention I had to commute each day.
Mornings are my most productive time of the day. I like to wake up early and do a little bit for my blog each day. I have also found that I get random bursts of energy late at night.
Everyone works differently, so figure out a time that works best for you. You might be better working in the afternoons or evenings!
Before I knew it, I started making a small amount of income.
After four months of blogging, I received my first paycheck for $60. This was so exciting!
A few months later, my hard work and persistence blogging started to pay off.
In a six month period, each month my income would increase.
When I added up how much money I made, I realized that in six months I had made around $13,000. This is all while I had my day job, so having this extra income was life changing!
Why I like blogging
What I like best about blogging is that I can make money without having to have a part time job. I have made more money blogging compared to having a part time job.
When I was working full time, I also had a part time job in retail. I worked a couple of shifts in the evenings during the work week and on one weekend day.
I was exhausted and had no time for myself. I was also spending extra money on gas and was never home.
Needless to say, I only worked part time for under a year as it was just too much time away from home.
Once I started earning money from my blog, everything changed.
Now I get to work my own hours at a time that’s convenient for me. This allows me more time for my family and friends.
How to start a blog in just a few steps
I am going to walk you through the entire process step by step in the video below. This will take around ten to fifteen minutes total!
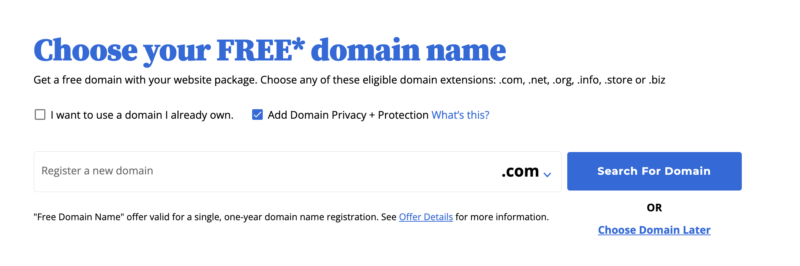
You will also get a FREE domain name for an entire year when you purchase a 12 month plan. This is a great deal and will save you an additional $15!
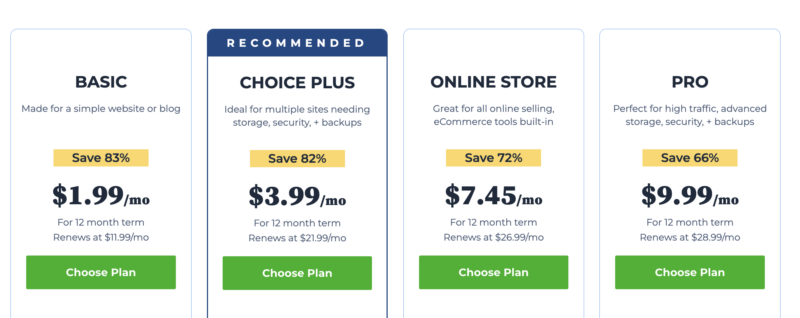
Select your blog plan
Start with the basic plan. You can always upgrade and select Choice Plus later if you want, but I have never found that to be necessary.
How to select your website name
Picking the name of your website (AKA your domain) is important. Many readers email and ask what should they name their website – their personal name or a brand name?
When I decided to start my blog, I made a list of possible names for my website.
I wanted the name to relate to saving money, getting out of debt and budgeting, so Believe In A Budget made sense and was the clear winner.
Over time, I also decided that I wanted to purchase a domain using my personal name, Kristin Larsen.
So, I purchased the domain name KristinLarsen.com and now own that as well.
One advantage to using your name for your website is because you have the flexibility to create and write about anything.
When selecting a name like Believe In A Budget, this is a more specific niche. It wouldn’t make sense to write about a ton of other hobbies outside of personal finance.
The good news is you can always change your website name in the future! Don’t forget, your domain name is free when you select one year of blog hosting!
What you need at checkout
Below is a screenshot of exactly what you need to select when purchasing your domain name and blog. This is what I have selected for all of my websites. You do not want to over pay in this section.
I recommend getting domain privacy and protection. This just makes your information private so the public doesn’t know your personal information!

Once done, you can go ahead and make your payment. Again, your pricing should be under $40. This is the best price and deal possible.
As a budget conscious blogger (and the name of this blog!), I feel confident recommending Bluehost for a blog and to stay budget friendly.
After you start a blog, do this next
I recommend signing up for my free blogging course. For the next 7 days, you’ll receive my best tips on how to get started blogging quickly without wasting time.
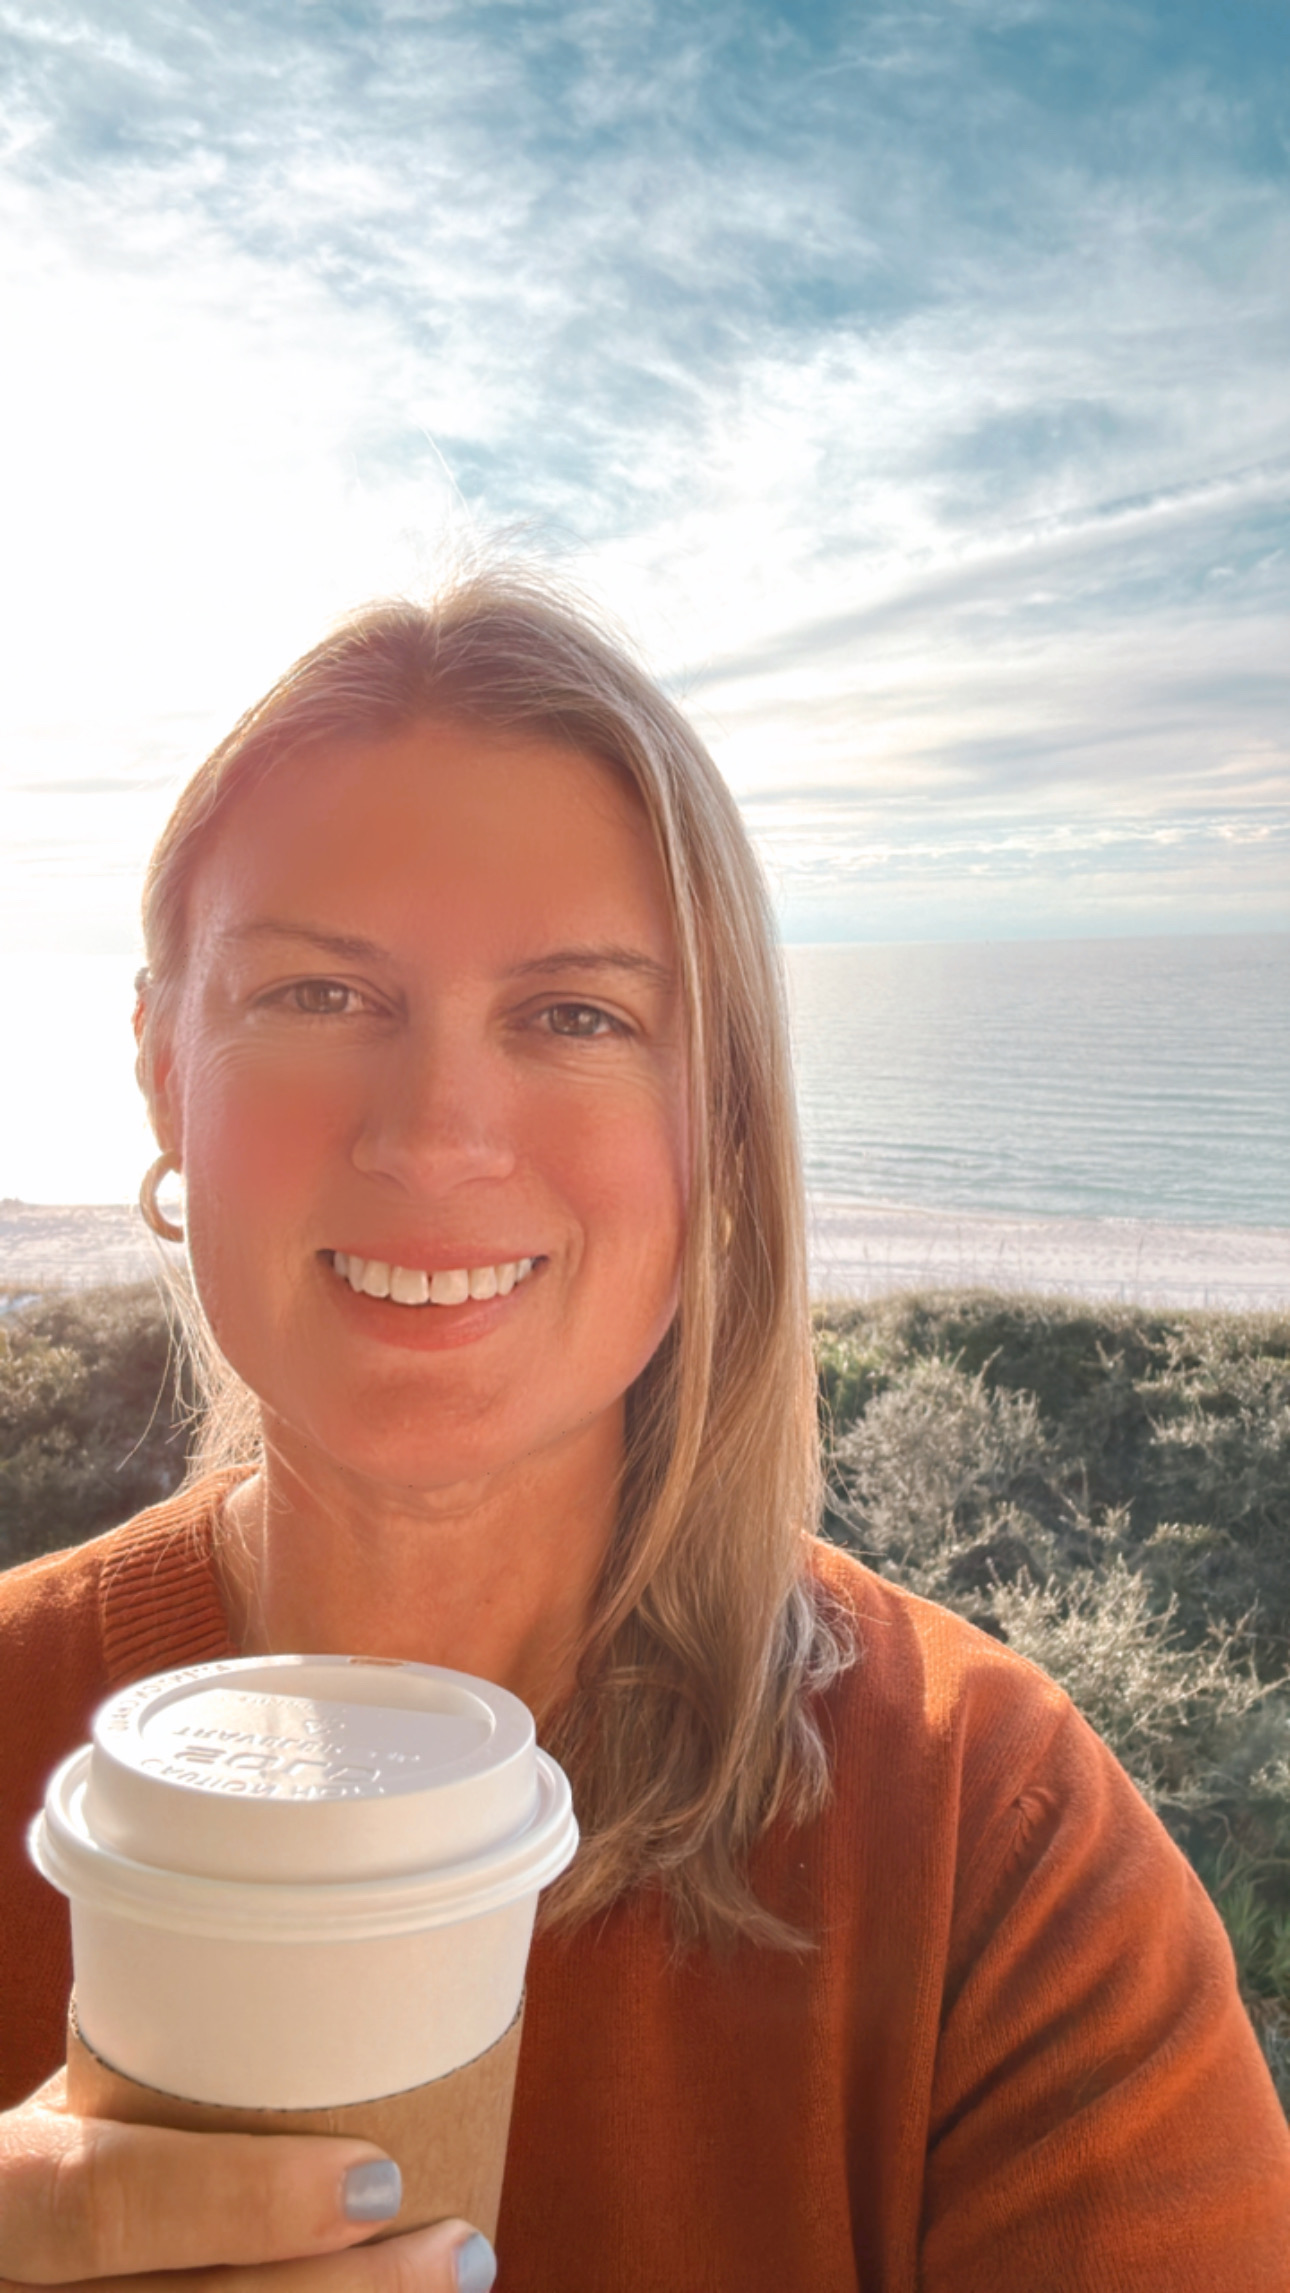
Hi, I’m Kristin!
Blogging like it’s my job since 2015
Hi, I’m Kristin! When I made my first $60 online, I was sold on blogging. After only 10 months, I quit my day job as an architect & designer to blog full time about personal finance. I share tips on how to save money, make money and start a blog! 💗 Read my 1st income report.